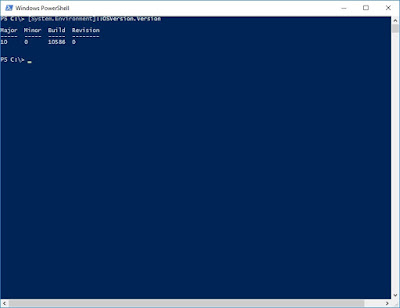
Determine which version of Microsoft Windows is in use. Press the Windows search button and type: powershell
Choose the PowerShell application.
In PowerShell type: Type: [System.Environment]::OSVersion.Version
Open Control Panel: right-click on Windows button, choose Control Panel
In Control Panel upper-right search box, type: group policy
Choose: Edit group policy

For those who watch the Windows error log, the BitLocker Event IDs are described here. The Event IDs are 24577 - 24621.
In the Local Group Policy Editor, navigate to Navigate to: Computer Configuration\Administrative Templates\Windows Components\BitLocker Drive Encryption
To change the default drive encryption of 128-bit to 256-bit, edit the entry: Choose drive encryption method and cipher strength


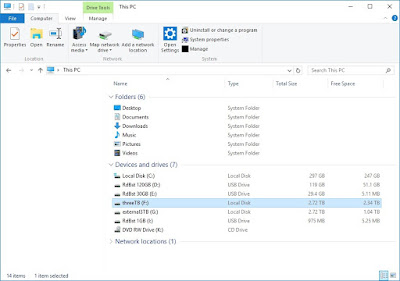
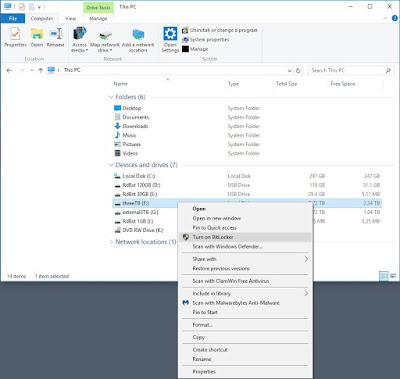
To turn on drive encryption, go to Windows Explorer and right-click on the drive. Select Turn on BitLocker
The drive will be set up for encryption.

Choose a password.
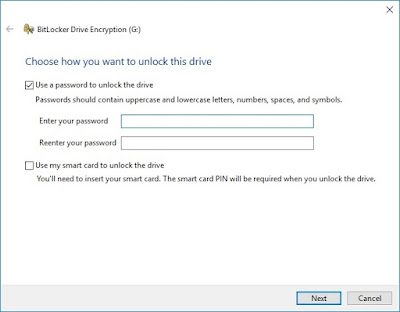
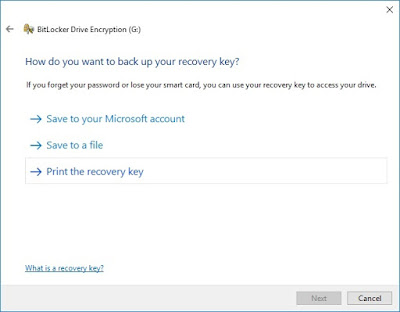
It may be good to print a recovery key. Place the printed key offsite in a secure location.
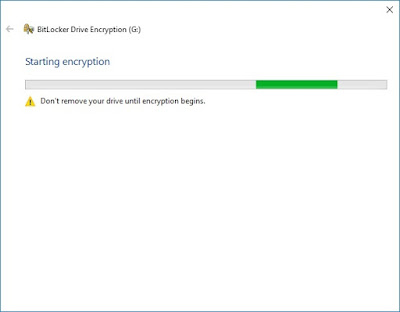
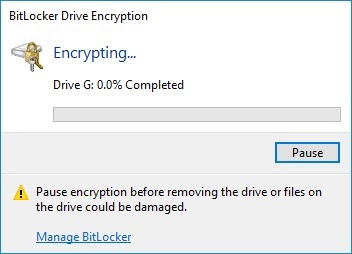
The process of encrypting the drive will begin. Existing data is maintained, so the encryption process may take a day or more.
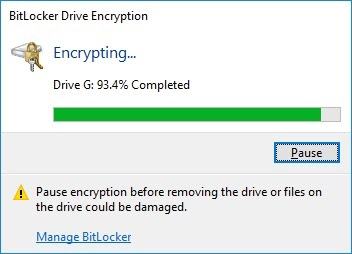
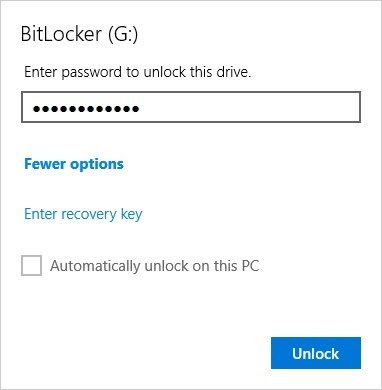
After the drive is encrypted, test unlocking the drive. This is a good time to restart the PC, then go to Windows Explorer and note the yellow icon on the drive letter. Right-click the drive and choose: Unlock Drive...
Enter the drive password.
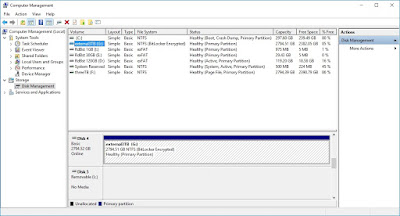
This shows Computer Management with the drive designated as "BitLocker Encrypted".
