Wednesday, June 01, 2016

Move Microsoft Windows pagefile.sys

Moving the page file off the system disk can lead to reductions in disk I/O contention, which can lead to a quicker-feeling system. Systems which have small system disks can regain some disk space by moving the pagefile. These instructions for moving the pagefile to another disk are for Microsoft Windows 10.

Open a command prompt or Windows PowerShell.  To open PowerShell, press the Windows button and search for (start typing the words) "powershell". Click on PowerShell. (You may want to right-click and pin PowerShell for easy access in the future.)
With Windows PowerShell running, type> systeminfo
(PowerShell systeminfo displays the same information which is available through Control Panel, Administrative Tools, System Information.)
Note the "Windows Directory" and "Page File Location" are both on drive C.


This example computer is several years old, so drive C is relatively slow. The new drive is F, a three terabyte internal drive. The new drive has much better seek times and data throughput, so the system will likely feel more responsive if the pagefile is moved to drive F.

List the drives & volumes in powershell with > GET-WMIOBJECT win32_logicaldisk | format-table


Move the pagefile to the faster drive, F.

Show the virtual memory by opening Control Panel, System and Security, System, Advanced System Settings, Advanced tab, press Performance Settings... button, Advanced tab, press Change... button. Note the virtual memory is currently managed by the system and on drive C.


Create a pagefile on drive F with a Custom size by clicking on the new drive (F) and choosing Custom Size. Most users will choose a virtual memory size equal to real RAM or a multiple to the real RAM in the system. Press the Set button.
Select drive C and choose No Paging File and press the Set button. Press OK and the system will prompt for reboot. Reboot the system.


After reboot, verify the pagefile has moved correctly.


Using PowerShell to verify the pagefile, type > wmic pagefile list /format:list

AllocatedBaseSize=4096
CurrentUsage=0
Description=F:\pagefile.sys
InstallDate=20160512202132.760466-360
Name=F:\pagefile.sys
PeakUsage=1
Status=
TempPageFile=FALSE


Notice the PeakUsage is low, as it is a new pagefile.

Simpler PowerShell command, without formatting, is > wmic pagefile
 

Monday, May 02, 2016

Configure Windows Bitlocker

This guide demonstrates how to configure Microsoft Bitlocker disk encryption on an external drive using Microsoft Windows 10.

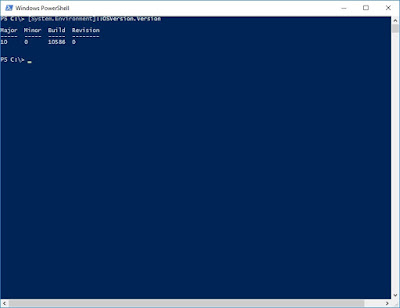
Determine which version of Microsoft Windows is in use. Press the Windows search button and type: powershell
Choose the PowerShell application.
In PowerShell type: Type: [System.Environment]::OSVersion.Version


Open Control Panel: right-click on Windows button, choose Control Panel

In Control Panel upper-right search box, type: group policy
Choose: Edit group policy
 

For those who watch the Windows error log, the BitLocker Event IDs are described here. The Event IDs are 24577 - 24621.

In the Local Group Policy Editor, navigate to Navigate to: Computer Configuration\Administrative Templates\Windows Components\BitLocker Drive Encryption

To change the default drive encryption of 128-bit to 256-bit, edit the entry: Choose drive encryption method and cipher strength


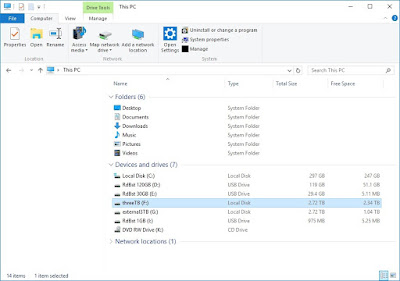
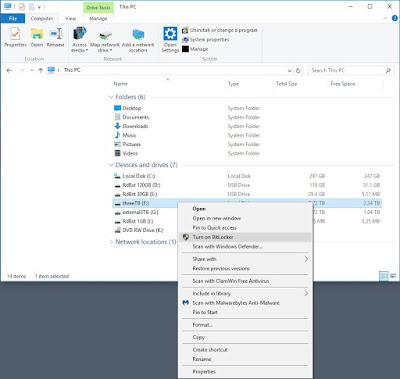
To turn on drive encryption, go to Windows Explorer and right-click on the drive. Select Turn on BitLocker
The drive will be set up for encryption.


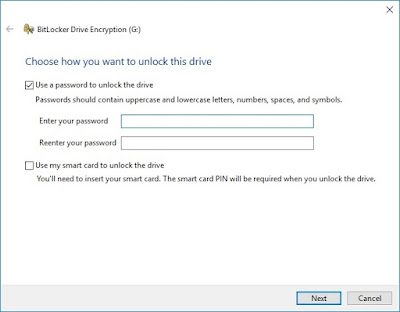
Choose a password.


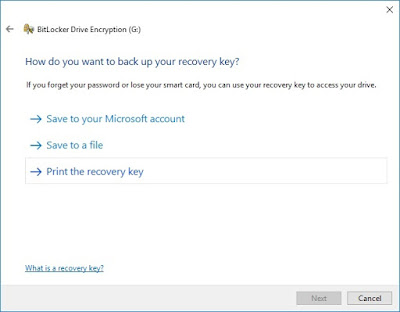
It may be good to print a recovery key. Place the printed key offsite in a secure location.


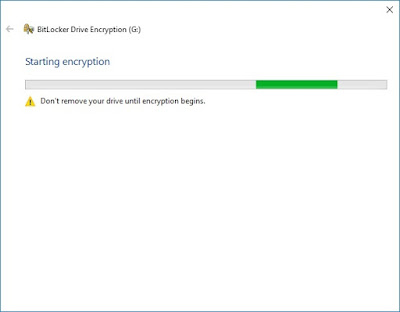
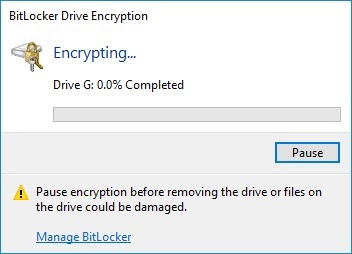
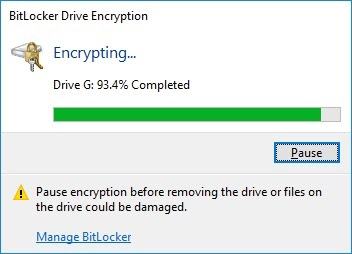
The process of encrypting the drive will begin. Existing data is maintained, so the encryption process may take a day or more.


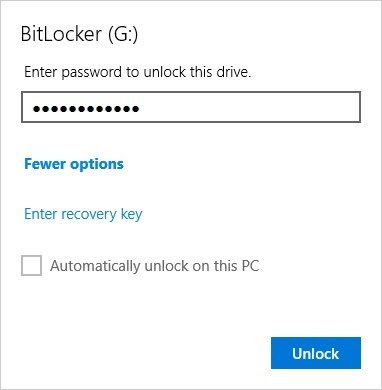
After the drive is encrypted, test unlocking the drive. This is a good time to restart the PC, then go to Windows Explorer and note the yellow icon on the drive letter. Right-click the drive and choose: Unlock Drive...


Enter the drive password.
 

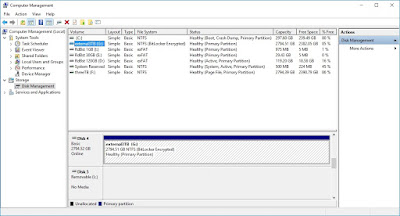
This shows Computer Management with the drive designated as "BitLocker Encrypted".